twitter facebook instagram bloglovin tumblr google plus pinterest youtube
Showing posts with label tutorial. Show all posts

Monday, 25 July 2016

Sew A Wooden Handle Bag


Hello,

After a super hot July week, I'm popping by to share my tutorial on how to sew a wooden handled bag. Perfect for lazy days out this Summer.

The tutorial featured on Made By Mrs M's blog last week. You can read more here . Thank-you Kate for inviting me to share my love of vintage inspired accessories!

IMG_5679.jpg

I love all the beautiful fabric's Kate has created using mid-century as a design source and including iconic modern London buildings. As an ex-Londoner, I love her prints, they remind me of the fabulous architecture London as to offer.

I designed this bag to be sewn up in any of Kate's lovely retro fabrics. The pattern is one you can self draft yourself using the step by step photo's on Kate's blog


Read more about how Kate and her passion for creating fabric.

I've said to Kate, once I get my mid-century house, I'm going to fill it with her prints! Kate - hold me to that! Thanks again.

Have a great week,

Samantha xoxo

Friday, 11 March 2016

Create Your Own Tote Bag In A Crafternoon


Last week I held my first Sew A Pretty Bag Crafternoon. It was a lovely day of sewing and making. Hello to everyone I met.

I'm using more of these bags since we have to pay for a carrier bags in the UK, so let's make them pretty, fun and stylish ways to carry our shopping about. They are washable and very hard wearing.

Today I wanted to share with you my fail proof way of sewing up tote bags. This blog post will be spread over three posts. Today I'm talking about sewing up the bag, then printing onto fabric and then using bondaweb to create applique design.

Let's Make!

You will need -
Half a metre of calico fabric
1 spool of sewing thread
Use of a sewing machine.
Sewing supplies -
Including -
Dressmaking scissors
Dressmaking pins
Fabric maker pen

You can make your bag any size you want. We don't use a paper pattern for this project. We simply draw onto the fabric with the washable marker pen.

Firstly measure up the size of your bag. Most tote bags I've had or made are approx 50cm long by 45 cm high. You can get lots in your bag and it fits on your shoulder nicely.


Cut two pieces of fabric with a 2.5cm seam allowance in the calico. I've choosen calico as it's soft to work with and really durable. At the end of the post I've put a picture of the same bag made in home furnishing fabrics which is harder to stitch and you will need a higher needle size.

I'm stitching the calico on a 80 needle.

1. Sew The Top Of The Bag


Take the two pieces and firstly fold over the tops of the fabric twice (each 2.5cm deep) and stitch on the sewing machine. I always make a test first to check my machine tension and stitch length it OK.

 2,. Seam Up Your Bag & Make The Straps

Then follow the diagram below to finish off your bag from...


top left -
turn your bag right sides together and pin down the sides with the top of the bag level and across the bottom. Sew into place.

 top right -
 to finish off the seam turn in the edge at the top of the bag at a 45 degree angle and hand stitch as per the diagram.

 bottom left -
 make two handles from the remaining calico. Take a 10cm x 12cm strip and iron in half. Then turn 1cm in on both sides. Stitch into position 25% from both ends on the outside of your bag. To find 25% fold you bag in half and in half again and pin.

bottom right -
Stitch on the outside of your bag by top stitching in a square and then across the square to secure.

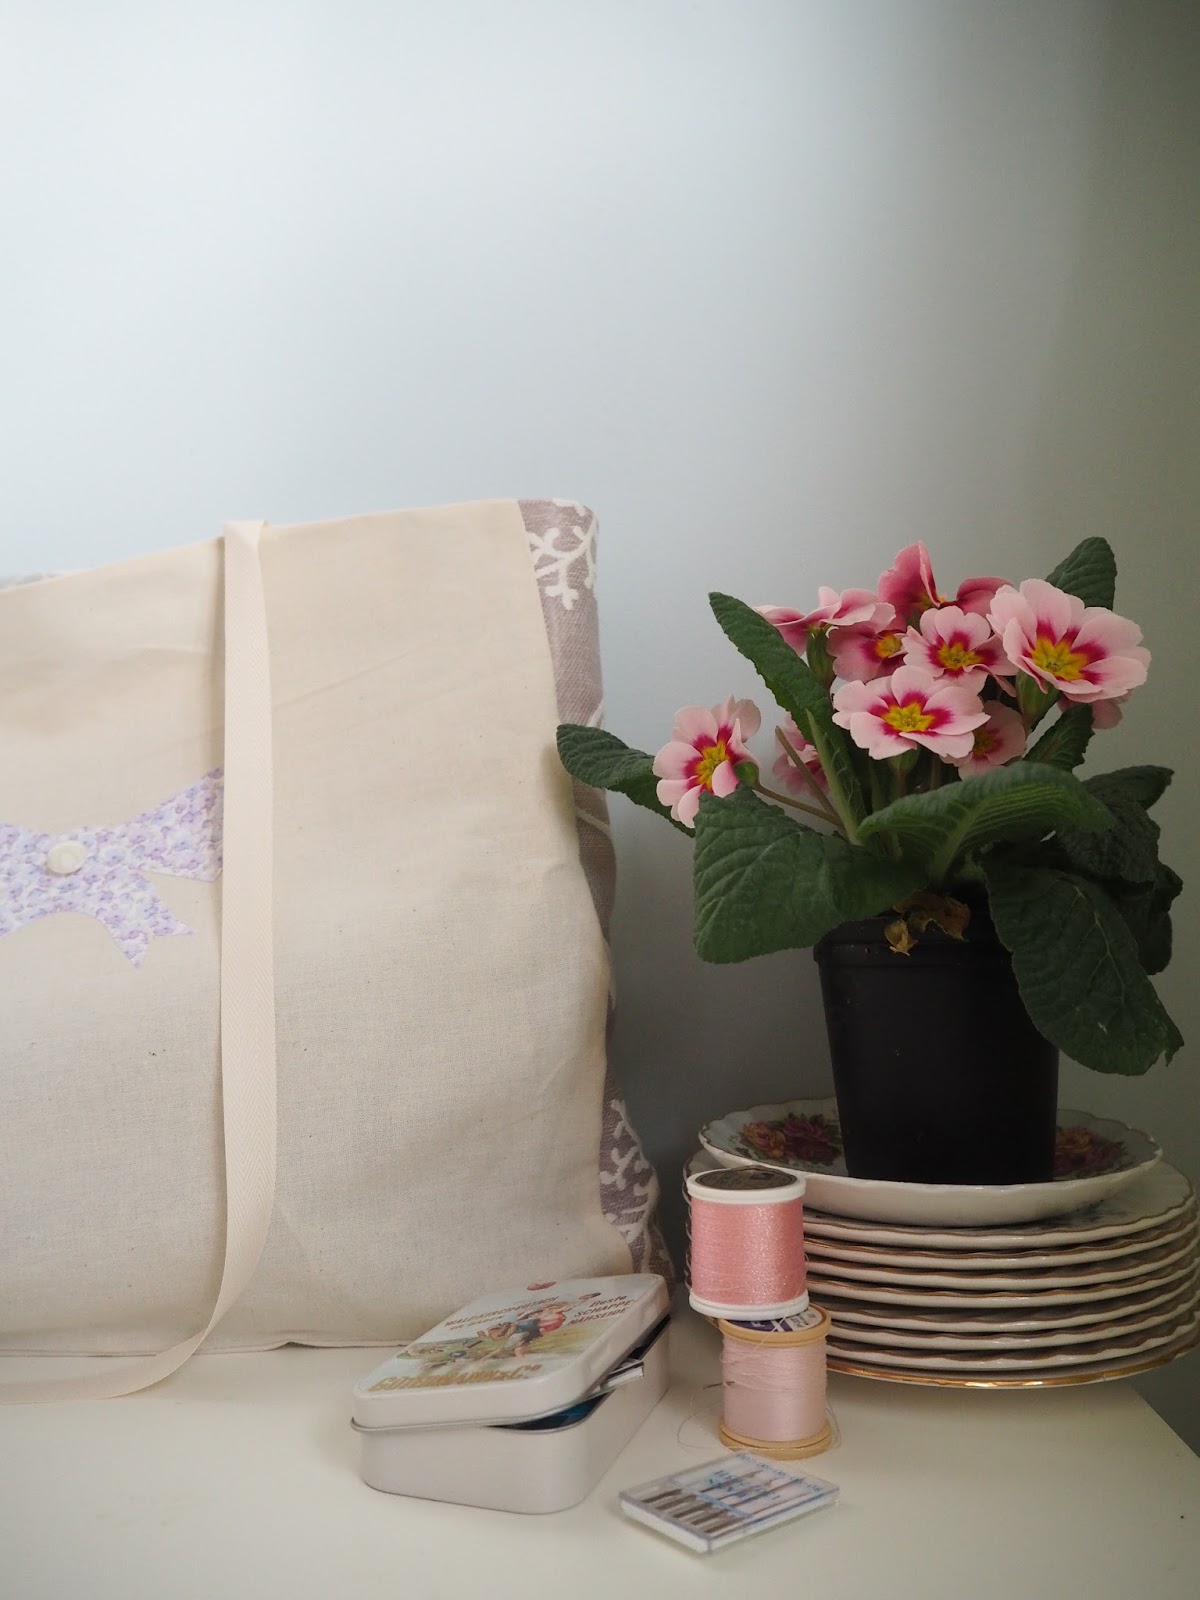
And here is the finished bag in home furnishing fabrics.

 
           If you want to leave your bag in fancy fabrics why not patchwork each of pieces?


The next step will be to use fabric paints and stamp onto your calico bag.

I hope you enjoyed this tutorial. Leave me a comment if you have any questions on the steps in the post.

 Happy Crafting,

Samantha xoxo
blogger template