twitter facebook instagram bloglovin tumblr google plus pinterest youtube
Showing posts with label Family. Show all posts

Monday, 19 September 2016

Embracing New - Life Update


Hello,

Well after a Summer of crazy and happy times, last week my little one started school. It's been five years to the week since I went on maternity leave and five years of being there for my little girl. No regrets, it's been the best time and looking back I won't have changed it for anything. I can't have those days back so we've embraced the moments. Then suddenly she's off onto new adventures.


Over the last week, I have been starting to sort through and work on some much needed home projects whilst we adapt to our new routine. It's taken my mind of the change. My unloved looking house is slowly becoming a loved tidy family home but it's empty of childhood laughter in the days. I think taking on this next challenge in Motherhood, the transition to school is huge, but needs to be embraced. Therefore, each day I'm taking on a little mini challenge to move forward with our home; paint a door, clean out a cupboard, new pictures of the wall....


I've also got so used to working unsocial hours, it will take some time for me to get used to being sat at my desk at 1.38pm on a Monday. But this time will give us more family time back and I now have more time in the day to spend on creativity; my (unloved) blog and Crafternoon Tea workshops which I love hosting. I'm currently downloading a Summer's worth of pictures of projects and Crafternoon Teas ready to share.


I recently read this blog post from Emily Quinton which echoes my thoughts about change. I have a list of projects so long and lots of exciting crafts to share both here and at my workshops. I hope that this is a new exciting chapter in our lives and although it's going to take a while to adjust; the work and life balance we will get right for us all.

Love,

Samantha x


Tuesday, 30 August 2016

Simplicity Sewing Challenge - Reviewing Toddler Dress 1206


Hello,

Today has been a very sunny, beautiful August day. The perfect day for my little lady to wear her new Simplicity dress I stitched up for her in this strawberry printed fabric. Now four, she loves that 'Mummy made me a dress', and has been my creative director through the project. In this post I'm talking about how myself and Little L (my daughter) made this oh so pretty dress.


Back in July I was sent this pattern to make as part of the Simplicity Blogging Challenge. I entered under Children's Wear as I loved the little girl's dress on the right and had a stash of cotton fabrics awaiting the perfect pattern. I've been sewing Simplicity patterns since I was a teenager (about 20 years) and love the easy to follow patterns and they go together like a dream.

Sewing for a slim four year old isn't easy, so I thought that the swing dress would be easier to fit and sit well on the yoke and on her shoulders.


We decided on view A, the sleeveless version so we could put a t-shirt under it on cooler days and decided to cut the skirt frill half the size so the dress wasn't too long.  I wanted to make it smaller under the arms than the pattern but she liked it's swing coolness which was great for today. I made the bow but Little L didn't want to add it to the design. We may make it into a hair slide for the dresses next outing!


I also added poppers down the back and created a false placket out of bias instead of a back zip fastening. The zip isn't too comfortable again her spine in a car seat. I try to avoid zips on the back of dresses for her.

                               
The dress fitted really well on her shoulders with the yoke. It was really straight forward to stitch and no unpicking! I was worried about pulling the threads on the print if I had to. I hand finished the dress with a slip stitched hem. I love the finish you get from a good hem.


The instructions for the yoke were really clear, I've added a photo below. I liked the idea of biasing around the arm hole instead of faffing with a facing. It gave a really clean finish.


We loved the neckline as it's really delicate with a neat arm seam finish.


Here are a few snaps of Little L having fun in her new dress...


Thank-you to Simplicity, I really love the pattern and we will be making it again.

Happy Crafting,

Samantha x

The pattern for this project was gifted but all views are my own.

Thursday, 9 June 2016

A Cornish Trip & The Poppy Treffry Store


Taking time out to re-charge Cornish style and a visit to the lovely Poppy Treffry's store.

Hello,

I'm so excited to be writing again after a little break by the sea and a chance to soak up seaside life. Living literally in the middle of the UK makes you want for the sand, sea and time with the family winding down by the coast.

Today is a travel blogger style post but hey...I've added a little crafty bit here too! Here are a few pictures I took with my Olympen Pen E after learning a lot from Emily Quinton on the Makelight course.

Pastel houses, VW campers, boats and Cornish Palms ....


One of the highlights of my trip was a visit to the Poppy Treffry store in St.Ives.


I love her pretty Cornish life inspired fabric prints, quirky cards and her orange lip balm is just gorgeous (oh it has a Singer sewing machine on the lid, so what's not to like?). I love that Poppy and her team of sewers hand make all the items in the store on vintage Singer sewing machines, similar to the ones I use at my Crafternoons.


This trip I picked up a stash of cards for the sewing ladies in my life. Would you love to receive this card on your birthday?


And all this pretty print fabrics....


I can't wait to pop down to Cornwall again to get my fix of Cornish life and pretty sewing supplies.

We stayed at The Old Dairy, Godolphin Cross Nr. Helston , a very family friendly self catering stay. Our Little L loved feeding the hens and pigs, it was very quiet with a short walk to the National Trust's Godolphin Estate.


I'm now ready for a wonderful Summer of Crafternoons!

Happy Crafting,

Samantha

Friday, 6 May 2016

More Self Drafted Dresses...The Elsa Dress


Hello to a Sunny May,

I hope you are well? Today I wanted to share more on my self drafted pattern journey and this time is for my Little L who is obsessed with Frozen's Elsa! Plus I'm testing out a brand new sewing thread from Korbond which claims to have '15% less breaking strength compared to other sewing threads'. Sounds perfect for me. Sewing for children requires very durable fabrics and durable threads.

As part of the Craft Blog Club Spring challenge, I challenged myself with getting more confident with my self drafted pattern making especially on knitted fabrics. You can read more about my first dress here inspired by Chinelo from The Great British Sewing Bee.


I bought this sparkly stretch mermaid inspired fabric last Autumn at the Sew Brum meet from Barry's fabric store. I'd already tested out the stretch stitch on a Christmas dress for Little L so I knew that the neckline wouldn't sag or the armholes wouldn't look all wobbly!

For this dress, I decided to self draft the bodice, making reference to You Tube video's of Elsa plus my gorgeous daughters input! Yes, I do have a budding fashion designer here. I was told that I had to put a point on the bodice and a big skirt. (She's 4 but knows her mind!) I used a sparkly light blue voile and lined it with pale blue lining fabric to get a princess floating shimmer. Little L wanted it for a party, so it needed to be more fitted than a dressing up dress and soft play party proof too.


For the bodice, I took one of her favourite knit dresses and copied the pattern onto pattern paper. I did this by laying the dress onto the bodice and with a pencil and pins, transfered the neckline and the arms. Then I allowed 1.5cm or 1/2 inch for turnings. It can be fiddly but you know it will fit! This took about 30 minutes to do. If you want to find out more about how I did this, I can write a separate tutorial, just leave me a comment.


For the skirt, I cut a circular skirt by measuring her waist and length and then creating a paper pattern. I created a skirt pattern for use on the fabric bias by halving Little L's waist measurements and adding this as a scooped circle on a square of pattern paper. I then measured down each side of the square her length. This gave me half a skirt pattern to cut on a fold. You can read more about circular skirts maths on By Hand London's blog .

I stitched the bodice to the double layer of lining and toile and created the Elsa point, then cut away the skirt excess inside. I then stitched it three times with using the Korbond professional sewing thread using a fancy scoop stitch to make sure it was really, really child proof!


At the hem and on the puff sleeves I wanted to make the toile stick out so it looked like ice (Frozen right?) so I stitched it with the same white thread about three times, over and over with the same fancy scooped stitch. I love it!


And here is the back view and the detail of the puffed Princess sleeves we added. I have to say sewing with my daughter's instruction is really rewarding. We finished off the dress with an iron-on Elsa transfer which you can buy similar here .


Little L has worn the dress three times now and I've washed it twice. In making the dress, the thread never broke. I usually snap my thread in my machine as least once. To get science-y, I looked at the twist per cm (which determines how strong a thread is) of the Korbond thread and the others in the sewing box. This thread was twisted the most out of all the sewing threads I own, so it was the strongest thread in my sewing box! It was smooth through my sewing machine and easy to thread through the needle. I will be using it again. I thought a child's party dress was a good starting point.  I want to thank Korbond for letting me try out their new sewing thread.

Have a great sewing weekend. I will be searching for a pattern for a Wedding in June. That's another post.

Love,

Samantha x


Friday, 1 January 2016

Our Favourite Festive Family Crafts

Handmaking The Christmas Season With A Young Family
 
 
Don't you love December?  A crazy, happy, fun-loving month that this year has whizzed by this year. As my daughter has finally got the Santa and Christmas thing now (she is four).  I've been making Reindeer dust, gingerbread bakes and the odd Christmas stocking and wreath with her. It's been great but I've had to realise that I can't do everything. So this year, I decided to craft what I could and enjoy a Christmas that my daughter would remember with the odd grown up addition...
 
Here's our top family crafts of 2015....
.
 
Salt dough Christmas shapes covered in glitter for our tree was perfect for a rainy Sunday afternoon, we made the salt dough and baked it then covered it in Christmas glitter. Not really as messy as it sounds and the decorations lasted all Christmas long.
 
 
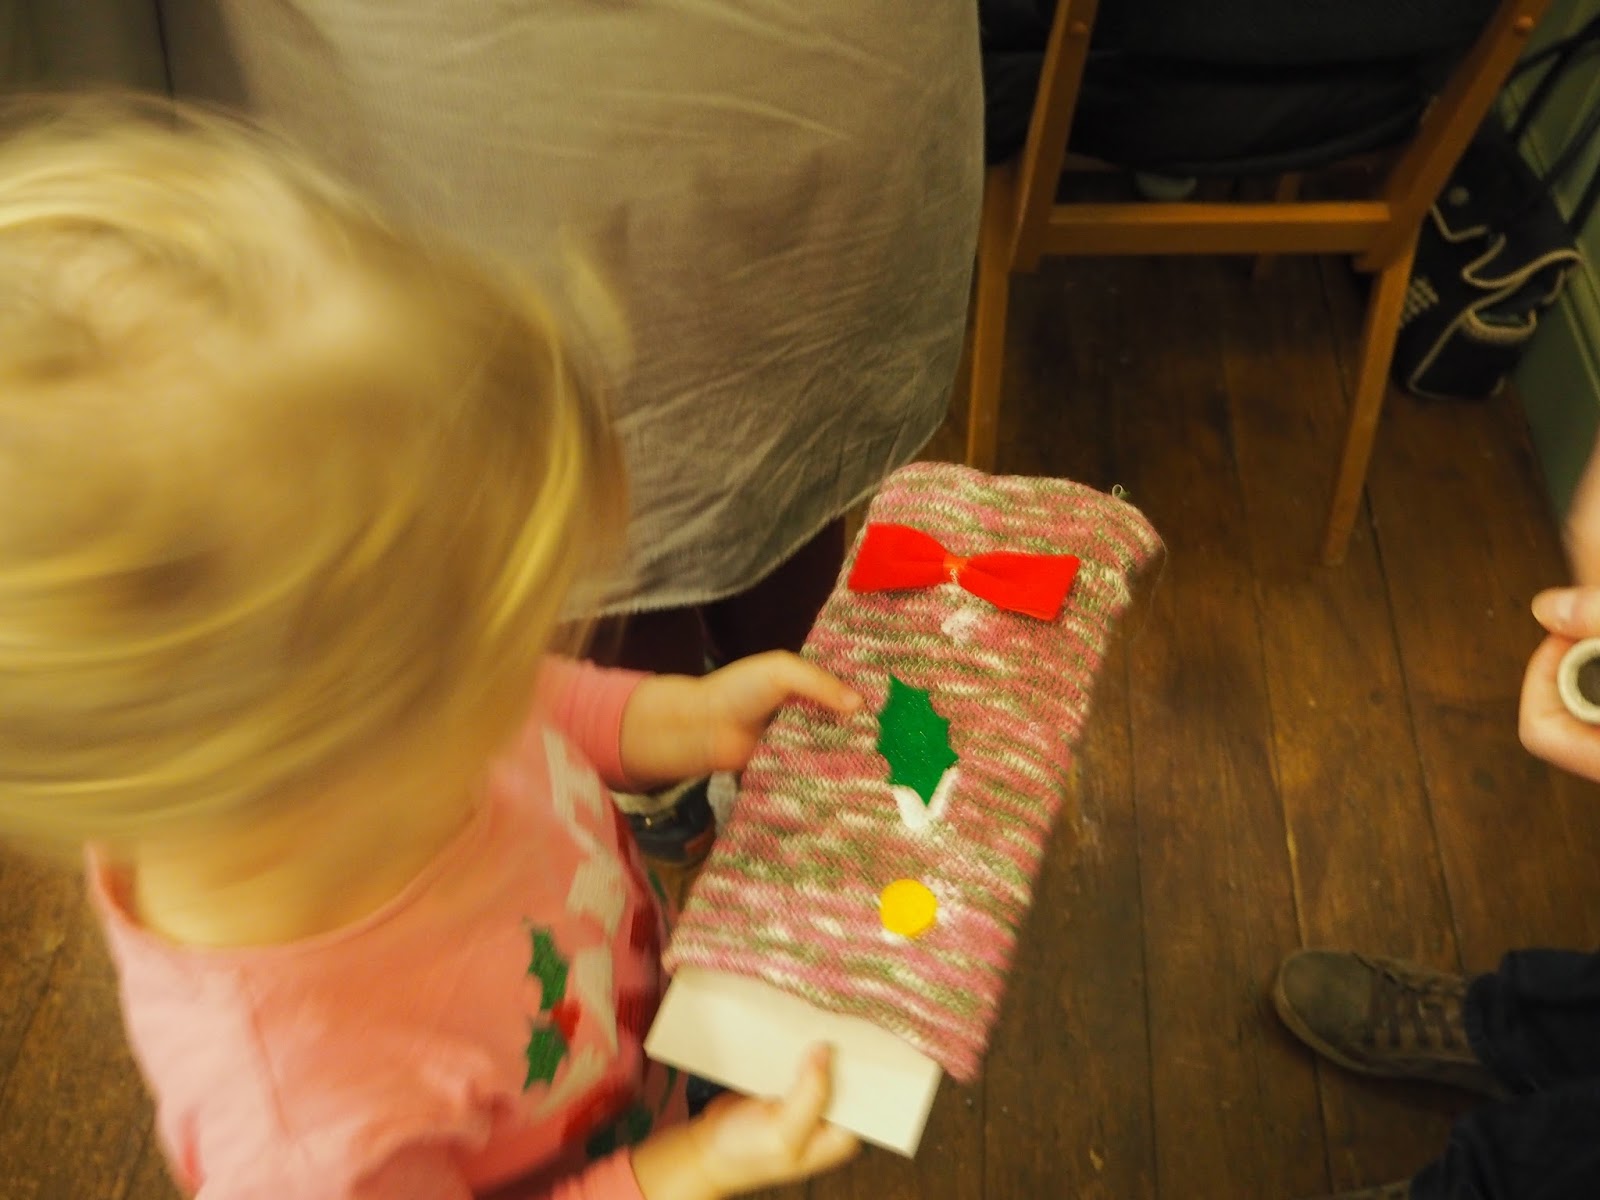
Don't you love the idea of your own knitted handmade Christmas sack? I have to admit that even thought this was a child activity, I was a tiny bit excited too. We went to the sack making family session at the Framework Knitter's Museum neat Nottingham.
 
 
Little L choose the coloured yarns and knitted her own stocking for Santa.
 
 
We then knitted it on a circular knitting machine in the museum's knitting shed.
 
 
Once made and stitched at the base, the knitted bag could be decorated with bows and Christmas fancy dec's.
 
 
Ta-da! Our finished sack that we hung up on Christmas Eve!
 
 
Christmas wreaths made from all the evergreen in our garden, we collected huge bunches of ivy, greenery and pretty leaves.
 
 
After gathering the greenery, I tied it into wreaths with floristry wires and we found a place to hang it up in the home.
 

And finally pastry and gingerbread baking. Again and again...lots of fun and satisfaction.

So that's our best crafty family times of  Christmas 2015.

Wishing you a Happy New Year!

Happy Crafting,

Samantha xxx

Monday, 20 July 2015

This Summer...Make Your Own Strawberry Ice Cream


For the last six months I've been slowly getting obsessed with making ice cream. It started as an idea for Christmas day dessert, I made a simple vanilla no-churn recipe and it was delicious.


 By total chance I was given the MELT ice cream recipe book for Christmas too, so from that day on I've been late night experimenting  with chocolate-y, fruity and booze-y combos when the kitchen is family free.

It's been a great journey and I have been completely amazed how creative you can be. So as I sit here dreaming up some new non-churn recipes, here is one of our current favourite...strawberry ice cream with pick your own strawberries to involve your family and friends in the process too!


You Will Need -

200ml double cream
200ml of strawberries, hulled and chopped up. The riper the better
2 drops of vanilla essence
65grams of caster sugar
Seasonal fruit to decorate (we used raspberries)


Method

1. Take the strawberries and put them in a non-slip bowl with the sugar and vanilla essence and mash away until the bowl is a red fruit thick liquid in it.
2. Whip the cream until if forms soft peaks on the beaters and looks thick and glossy but be careful not to over whip it (yes you can do this too!).
3. Fold the cream and strawberry mixture together until it looks a pink creamy colour.
4. Place the ice cream in a freezable tub and pop in the freezer for at least four hours.

To serve take out the freezer and leave for ten minutes on the side to scoop it or use a scoop that's been standing in boiling water but be careful to use an over mit as it may be hot, hot, hot.


Decorate with sprinkles and fruit. To make a booze-y version add a tablespoon of your favourite tipple when mixing the cream and fruity mixture together. The ice cream will come out softer as the alcohol won't freeze. We like a homemade blackcurrant vodka in ours!

Bye for now,

Samantha
blogger template