twitter facebook instagram bloglovin tumblr google plus pinterest youtube
Showing posts with label Card Craft. Show all posts

Thursday, 17 September 2015

Make A House A Home


I love a craft challenge and was thrilled to be invited to take part in the Make A House A Home competition.


Make A House A Home
As the Summer days are fading and I am crafting for Autumn and Christmas (yes the C word in September!) it was great to get my craft on with bright Summer inspired colours.


I was sent the pretty wooden bird nest with the brief to get crafty and to 'make a house a home'. With the inspiring craft materials at Buddly Crafts  to choose from, I put together a colour palette of homely happy colours; greens, pastels and reds. I then chose the a basket of pretty materials to reflects this.


I saw the Fimo Effect polymer clay with a great shimmer to the classic Fimo I have used before. Fimo polymer clay is great for modelling so I bought a pastel palette of  six pretty colours Aqua, Light Pink, Lilac, Mint, Peach and Vanilla.


I had to include the Tilda fabric in the project as I have used them to make cotton dolls, cushions and bunting and the prints looks really homely. I chose the green to look like the trees.


To start the project, I broke off a strip of each of the colours and rolled it out with a old wine bottle a 3 mm thickness. This was for my flags for around the bird house roof. I played around with the flag shapes until I got one I was happy with. I then cut out the flags six times in each clay and wetted them to bend them into a shape so that the bunting flags looked like they were blowing in the breeze.


They were then baked as per the packet instructions and left to cool down whilst I decorated the bird house.


I used the Tilda fabric for the roof and the side panels of the bird house leaving the inner panels ready for a white acrylic paint wash later in the project. I used a hot glue gun and a heat proof mat (the red dotty mat just seen) to protect my craft table.


I bought a pastel pink, pastel blue and white ric rac trim to add to the bird house around the sides and over the Tilda fabric as a contrast.


Over the Tilda fabric - so pretty!


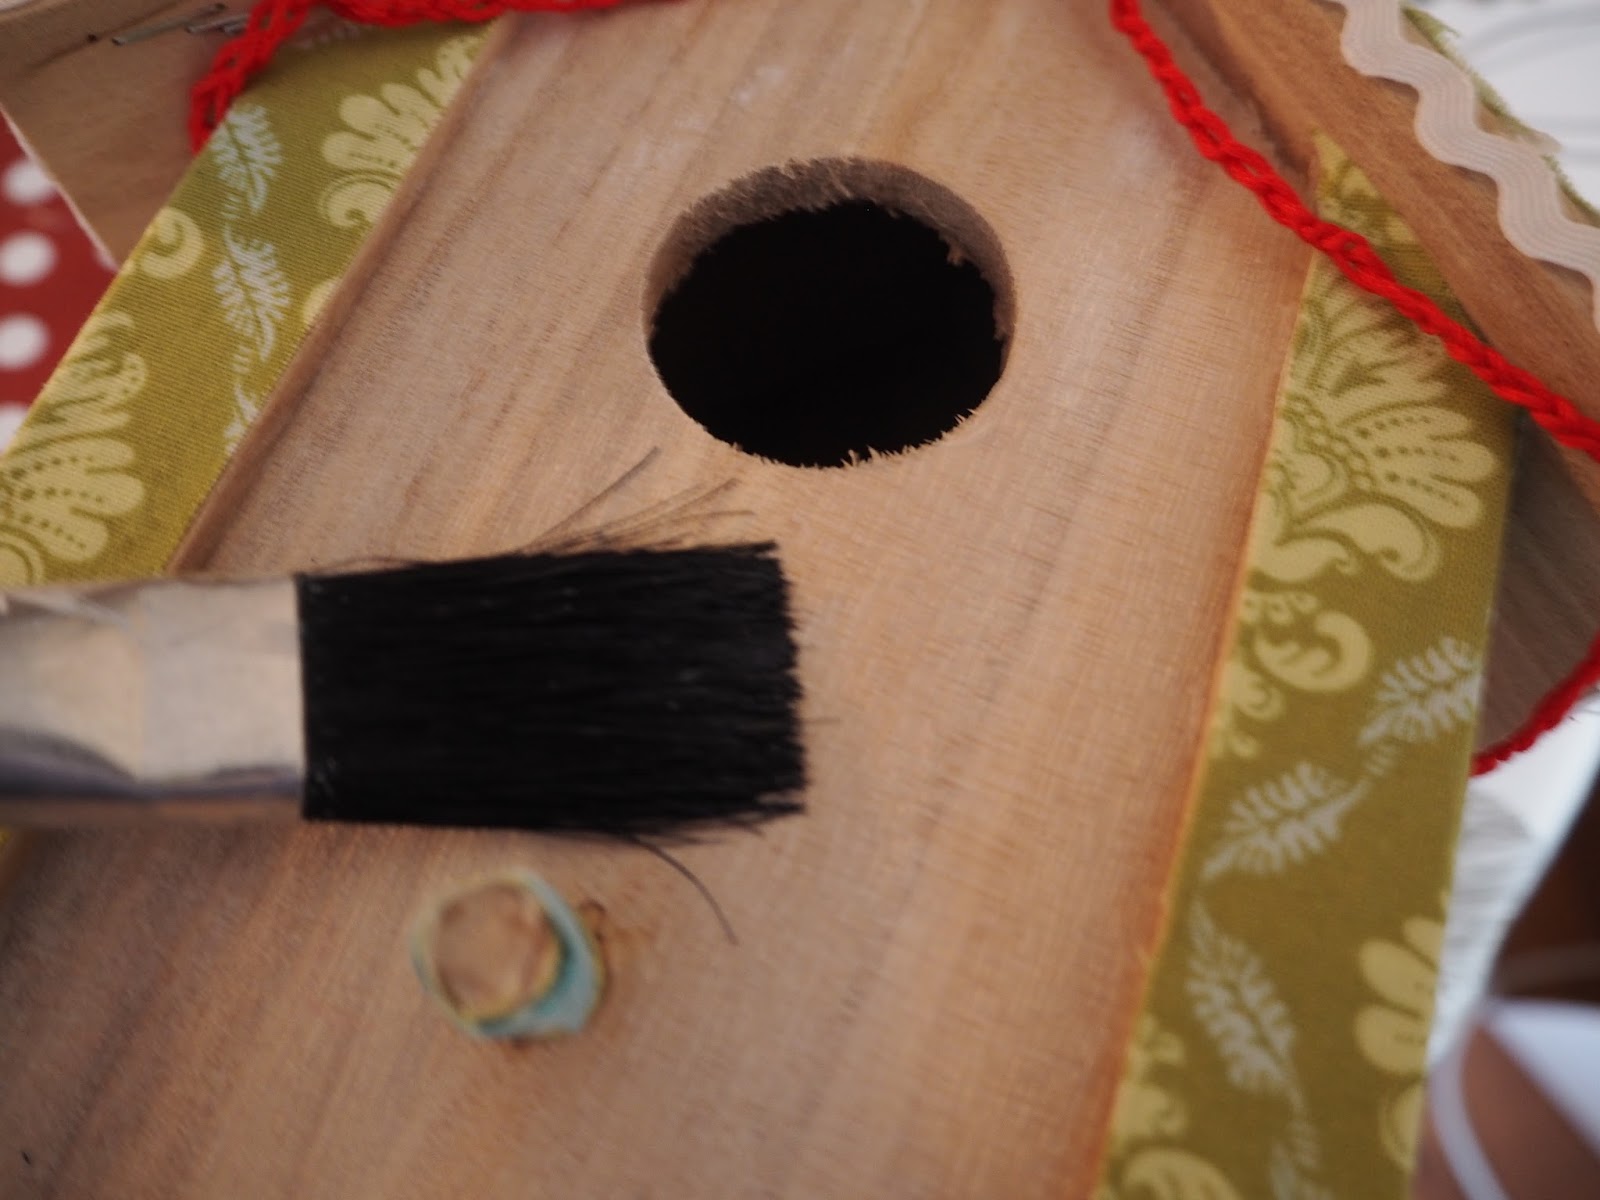
Then the white wash was added.

I crocheted a bunting flag in red using devil red #666 .

The flags were then fixed into place and with the remaining thread and fabric I embroidered a 'Home' banner and decorated the bird perk ready for my reveal.


Our little Home sign


The bunting fimo flags were glued in place on a crocheted string with a ric rac trim. I used a staple gun to attach the thread to the house and strong craft glue to attach the flags to the string.


And a hanging loop on the back.


And our new bird home is finished.


I am over the moon with my finished bird box and it's going up in the house tomorrow. I want to thank Ocean Finance for inviting me to take part.

How would you decorate a bird box?

Samantha

* This is a sponsored post

Sunday, 9 February 2014

Paper Bunting Cards

I love making birthday cards and with two special baby birthdays this week, I got out my crafty supplies and made these pretty cards.

Paper bunting means that they can stay up long after the celebrations. So the time you have put into making the card is worth it! Display them in a baby room on a shelf or curtain pole. They look awesome when the light catches them (see pic below).

Let's Create!

Cut your first flag and use this as a template for the rest of the flags. I made my bunting with the groovy inverted point but you can use the traditional flags, it's up to you.

For this card, I cut out the flags from two pieces of A4 card, weight 240gsm. What a bargain for less than 40p! 

With a sharp knife cut out the letters (you can do this free hand or download a template online). This can be quiet tricky but be careful and patience and you will get the knack. If this is your first go at paper cutting get the feel of using the knife on corners and shapes, once I mastered this the rest fell into place.  

Thread garden twine through your creation with a double hole punched top (see pic). Make sure you thread in down through the first hole, along the back and then up through the second.

This card took me thirty minutes to make and using a cutting mat really sped up the card making time. You can wrap up the card in brown paper or a large envelope.

I loved it so much, here are some more pictures of a bigger version which took three sheets.

What do you think... yay or nay??

See you soon...

Monday, 27 January 2014

My Etsy shop is stocked with a Valentines offer...

I'm really happy that finally after months, my Etsy shop is now stocked full of Valentines product.

I want to celebrate, so I've a little offer for you...

So now I'm stocked and ready to roll, I wanted to give you a little extra this February. 

All Valentine's day cards are now available with free personalised hand typed vintage message just like these below. 

Choose what you want to say and I will type it and add to your card. Prices start at just £3.25 plus a little p&p. How perfect for your Valentine?


And if Valentine's isn't your thing, I have some pretty purses from vintage fabrics or a voucher to treat yourself to one of my Crafternoon teas.

I'm off to celebrate as it is National Chocolate Cake Day!

See you later, 

Sunday, 19 January 2014

Pretty Half Handmade Cards


Sometimes, we want to craft but we don't have the time. So in my state of, 'I can't just give a shop bought card',I meet you half way...giving something that is just a little personalised and very pretty.

These are my pretty half handmade cards, simple cards I have purchased (the shame) but accessorised up to give them a personal look.

Add a few buttons and ribbons and you have a card that when your busy goes to say, I have given time and thought and it is unique.

Let me know if you have any 'half homemade projects'?

I'm off to prepare for tomorrow's Crafternoon tea. We are making brooches so I'll be back with pictures.

See you laters,


Friday, 6 December 2013

All Things Stampy and me!


Hello Friday Evening!

It's been a busy week of all things paper...And I'm on Helen's blog All Things Stampy too.. 


All Things Stampy
I'm off for a hot chocolate before lots of crafting tomorrow,


Monday, 2 December 2013

Stampin' Up Christmas Review

Happy Mail from Stampin'Up ...

and two crafty festive tutorials...

I was super excited when the lovely Helen at Stampin' Up sent me this very happy mail to review. Helen writes a great blog about her stampy journey, check it out!

I love Stampin' Up stamps and papers as the quality is fantastic and the colours all match! So it's easy to be creative (in a hour of so) and produce so great paper crafts.

I had a practice with the vintage style Christmas stamp that Helen sent me and the detail is pretty amazing. Plus the quote is awesome on it to, my husband is a Bruce Springsteen fan so I'll be using it on his Christmas gift tags!

So, after having a think, I decided to make a matching no sew Christmas pouch and Christmas card...


First of all I flipped out the Santa stamp and used my crafty date stamp from this post to stamp Christmas day's date on the design. 

The Stampin' Up stamp comes in a DVD style case, so it's suitable for stacking. You need to use a acetate block to attach the stamp so you can just 'kiss' the paper or fabric and ta-da the image is there. 

I used an ink pad to transfer the image onto paper and fabric paint painted on the stamp to transfer to fabric.

On paper...
Check out the detail from this stamp...
 and on fabric...

and the details great on fabric too!
 Once I had my fabric stamped I got to work on making my no-sew pouch.

Cut out two pieces of fabric and with hemming fabric (the type you by in the supermarket I used Korbond's version) place the pieces face down and cut enough fabric to edge the side and bottom of the fabric. 

OK,then I placed the other pouch piece on top face up to make a sandwich.

I then took a piece of greaseproof (freezer) paper on placed on top of the fabric sandwich and pressed. This will glue your fabrics together. 

I then used the same process to add the trims and glued on a cute holly leaf and button. 

Perfect for your Christmas table.


...then onto a...


After cutting out the stamped design, I added gold pen to the edging and attached it to a card.

Now for the bow...
take two pieces of card, wrap one and fold the other over. Then add two small bow tails to the back with crafting squares and attach.

Happy Christmas!

Helen is running classes here in sunny Derbyshire on -

(this)Friday 6th December: 
Crafty Friday - back-to-basics class for a small friendly group. Only three places remaining. 9.30am-11.30am  To register, email Helen.

Saturday, 14th December: Christmas: 
All Wrapped Up -  Gift packaging and decor, including a festive banner. For more info here:click here

I'm off to craft with some more of the Stampin' Up goodies for another post. It's addictive,

Happy Monday,


Saturday, 30 November 2013

Customised Rubber Stamp - and it's from Lidl!

I picked up this nifty bargain in Lidl of all places on Thursday and it's fab for creating your own customised stamps for your creative business or just for fun! And it was only £2.99! 

Had to share, as you can customise as many times as you like, just click out the ink pad and use the rubber letters to create a new message.

This took me about fifteen minutes to make and I'm really happy with it. Here is what you get to create your own bespoke self inking stamp.


Let me know what you think?

This post was not sponsored...

Happy Crafting,


Never miss a post by subscribing to Create It Samantha! Why not like me on facebook or follow on twitter

Thursday, 28 November 2013

Mrs. Crafty B's Lucky Dip Craft Kit Review

Last week this exciting parcel dropped through the door...
it's Mrs Crafty B's Lucky Dip Craft Kit to review. I have had my eye on this crafty parcel whilst planning Open Studios over the weekend and couldn't wait to get started  on lots of new projects using the kit.

Mrs Crafty B's craft packs are all in aid of a good cause. She is setting up a community craft project to support groups in Cambridge and surrounding areas. Each kit costs £3.50 including p&p from Mrs Crafty B directly. 

The project already supports an evening group for adults and for 2014 will be setting up two new monthly adults workshops and two new weekly groups for parents & preschoolers and mums with under ones. 

As a new Mummy, this support network is fantastic for your well being and to support your child's development.

Let's get started...
I firstly opened the kit and sorted out how many projects I could make using just the items in the pack.

...and here they are...

if you are confident with a sewing machine why not use it on paper. I used a size 3 stitch in running stitch.
This bunting is hanging up already above the fireplace and it beautiful. Thanks Mrs Crafty B!

and a Card...
and a finished a gift tag in ten minutes ...
A really good value pack. I love the bunting and the garden leaves card will be perfect for my Mother-in-law's birthday.

Thanks for the product to review Mrs.Crafty B!

Happy Crafting,


Saturday, 19 October 2013

Pretty Date Stamp


This week I came across this very cute date stamp on my travels and wanted to share. It's from a company called Amy Tangerine and is perfect for card crafting, personalisation or logging your own paperwork!

Amy Tangerine is a creative consultancy based in the U.S and this line was from one their scrapbook collections. Check out their website for inspiration.


The rubber date stamp is like any other normal stamp, but you can add up to 12 extras to the date like 'enjoy today' or 'snapshot'. I really like it!

I had a play with the stamped card on my lap top and came up with this...
Love to you what you think and how I can craft with my new date stamper?


Thursday, 5 September 2013

Vintage Red Button Cards

Easy ways to upcycle that old button box.

I was lucky to track down a stash of buttons a few weeks ago which I wrote about in this post . Since then I have sorted out the colours that I know I will use; reds, blues, blacks etc and put them all in glass jars.

These cards were made for a Wedding anniversary and Birthdays for little girls. All cards were planned first of all to make sure the buttons fitted the space! Sounds simple enough but it does need planning out.

I laid out the buttons and then in soft pencil drew a rough boundary. Then I laid out the buttons and stuck them down using jewellery making glue (epoxy resin - never fails!)

A simple 3 for a 3rd birthday

A trio of buttons for a little girl's birthday card

A variety of similar sized buttons for a Wedding Anniversary heart design.
I have to say that I have enjoyed making every card ... and in red as well!

Let me see what I can make with my blue button jar next?

Happy Crafting,


blogger template