twitter facebook instagram bloglovin tumblr google plus pinterest youtube
Showing posts with label DIY. Show all posts

Friday, 8 July 2016

Craft The Wedding You Want..Going Back To Our Wedding Venue Six Years On...


..because beautiful, unique venues do exist. 


We created our perfect Wedding day

Today, I'm writing about our Wedding day and how I visited our Wedding venue, Masa At The Old Chapel, Derby to revisit one of the happiest days of our lives. I want to show that you can be a DIY bride and your Wedding venue will be happy to help as little or as much as you want.  
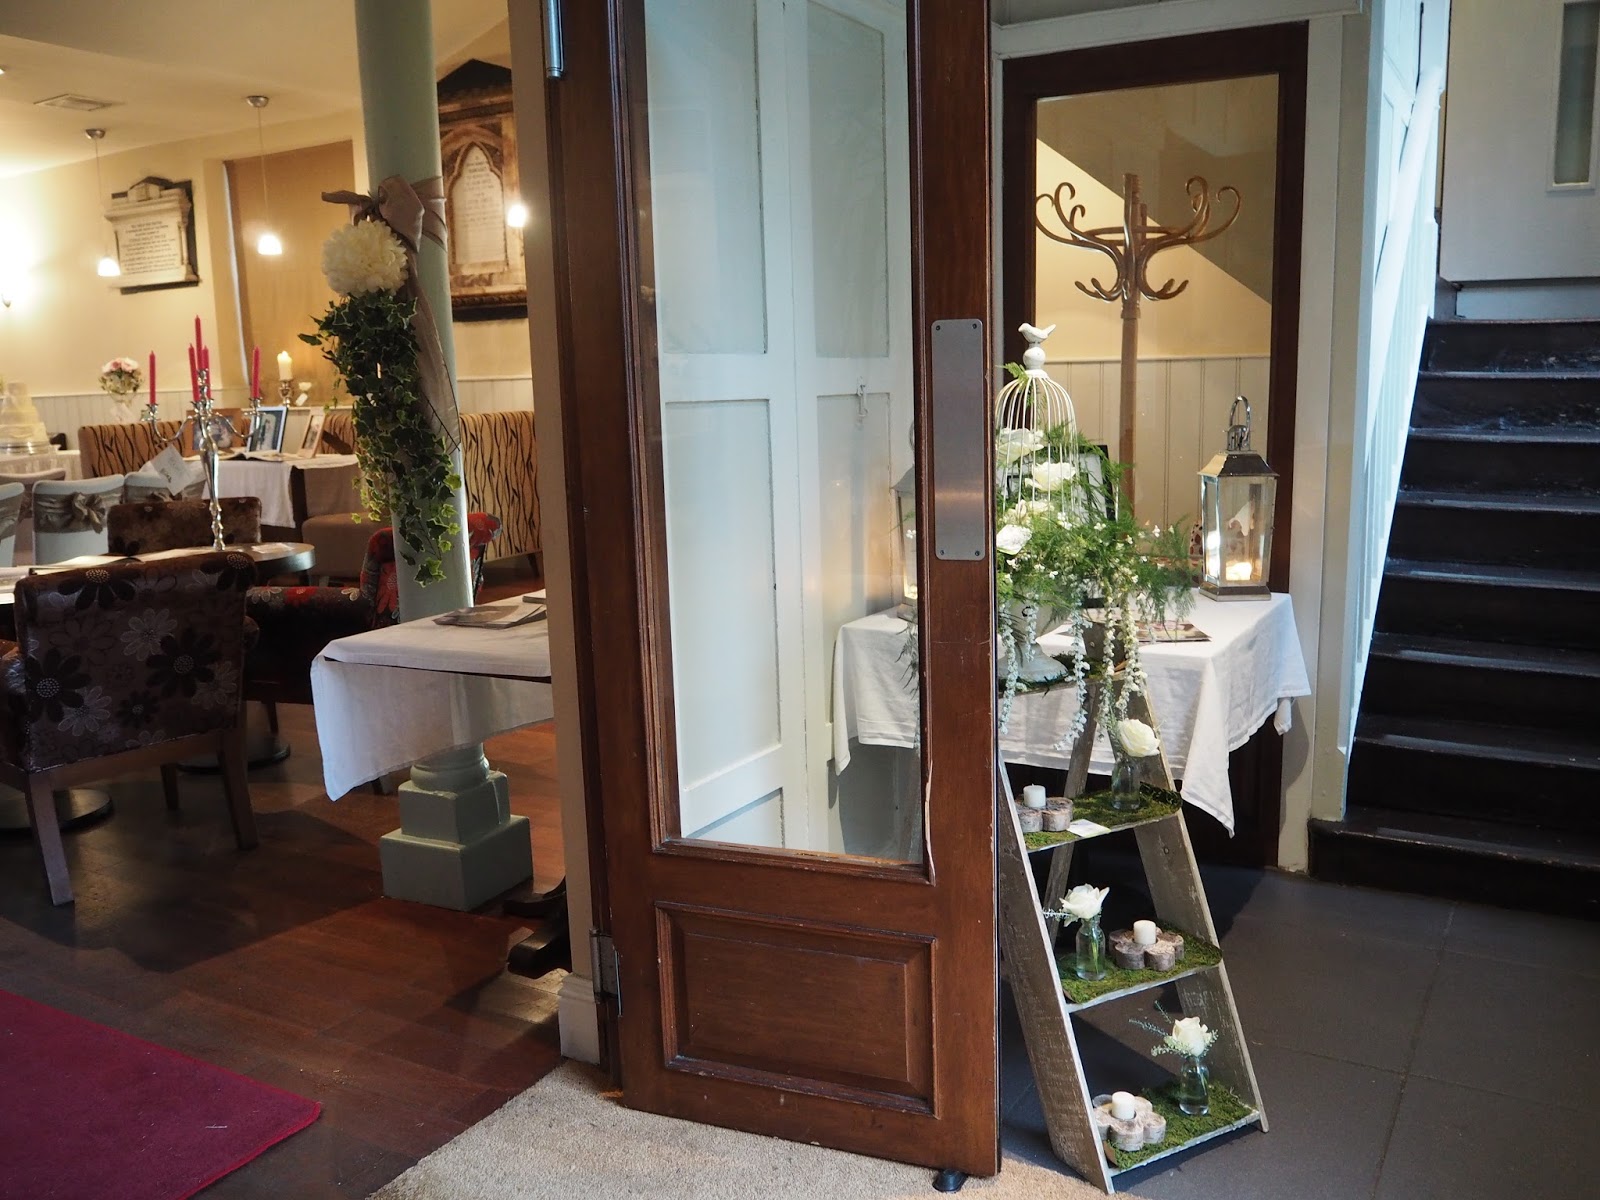
When we walked through the doors of The Old Chapel back in 2009, we felt that we had found the place to hold our Wedding reception. That was it, after six months of looking. It was unique and different from the other Weddings venues we'd seen and this one let you do it your way. 


It was a total breath of fresh air for a bride-to-be with visions of a creative DIY Wedding. I was amazed when we saw the packages that we could just book the venue to host the Wedding breakfast, we could style it ourselves and create what we wanted.

Masa At The Old Chapel is very light and airy, with space for up to 80 guests in the old gallery on the first floor with a reception area/dance floor and bar area downstairs. The venue is licensed for ceremonies too but we wanted to host our party here and bused in our guests on 1960s buses to add to the old fashioned feel.


We went for a colour scheme of duck egg blue, gold and cream and used pretty voiles to wrap around the posts in the reception/dance floor area. Our amazing photographer took this fish bowl lense photo just before our guest arrived!


We filled the windows with vintage glass jars and bottles filled with fresh flowers and the venue were happy to let us in the morning to style as we wanted. I had about six friends helping me put decorations on the tables, wind fabric around posts and fill the windows with prettiness.


Fast forward six years and here I am again and this time it's for their Wedding Fair. The lovely team showed me that again you can do as little or as much as you want for your celebration. Here is my tour and the inspiration I took away from the day (and the memories!) Maybe we can throw a big party here for our tenth anniversary?

The beautiful pillars wrapped in silk fabrics

Pretty little details by Dylandco

Hydrangea Blooms at the front door from River Bank Floristry

Cream roses giving a rustic feel on the front ceremony table

And ivy draped over the linens.

I loved this huge bouquet bloom. I used mine to double up as centre pieces and bouquets.

The large windows are just waiting to be dressed!

The view from the top table.

The guests dinner view.

Cute lit up letters from Spirit High.

Cosy styling from Dylandco again.


My tips for DIY Brides -
Do expect to be at the venue on the morning of your big day
Ask your friends to help on the day
Get some high quality hand cream, you will be using your hands a lot
Don't go to too many Wedding fairs, know your own mind and style
Set up a Pinterest board and show to all your suppliers
Be prepared to have boxes of props to sort out after your honeymoon!

Thank-you to Masa At The Old Chapel for having back to babble on about how much I loved our Wedding day!

I'll be back to sample the Taste Of Masa Night in the near future.

Love,

Samantha
xxx

All views my own. Our Wedding photos courtesy of www.ezekieltaylor.co.uk

Monday, 11 November 2013

Textile Leaves Christmas Wreath


With the festive season just around the corner, now is a great time to start crafting your wreaths. They will stay fresh and colourful right through the season!

We made these in Crafternoon Teas  yesterday and everybody made their own original wreaths using colours, textiles and button decoration! Oh ..plus we had a gorgeous cream tea too! So get your craft on and make cream tea too to enjoy the pleasure of wreath making this Christmas time!

You Will Need –

130cm 80cm wide organza ribbon (or strips of voile)
120cm 25cm red double satin ribbon        
1 x 25cm florists wire hoop
6 buttons                                 
20cm voile (golds /reds)
20 x 20cm crafters felt (green/reds)       
20 x 20cm table protector
40 x 40cm selection of fabrics include velveteen, satin, linen or cotton
130cm 80cm wide organza ribbon (or strips of voile)
Opaque nail polish (to give frosted look)
Sewing box essentials scissors, threads, dressmaking pins

Let’s Create

Take your wire florist hoop and wrap the organza around it and secure both ends with a pin. You now have your base.


Take three seasonal leaf shapes, trace around them and cut out. Then cut out odd number of leaves in various sizes, colours and textures. Take your ribbon and make a bow and pin over the overlapped ribbon. This is your bottom of your wreath.


Take your largest leaves and lay on your base first. Remove your ribbon as this is a guide. You will add the ribbon as the last job. Pinch the centres to give them a raised effect. 

Then add your smaller leaves and ribbon trio fillers. If you want to add varnish to create a frost effect this is a good time to do this. Add your organza strips in trios. Your wreath is now all pinned up.


It will take about an hour to sew your wreath together. Going around the pins, stitch the leaves on and take the pins out. 

Your wreath will then have a 3D effect to it. 

Add buttons and... 


...is all ready for the festive season.

Happy Christmas 2013,


Why not visit my website for more information on workshops, projects and events www.samanthaschofield.co.uk

Like me on facebook www.facebook.com/samschof

Thursday, 3 October 2013

My Craft Space Makeover

And After...

Before... (the shame!)


Back in the Summer I wrote this post to find the right storage solution and working space for my new crafty business Samantha Schofield Designs . After a few months and various trips / nights on Pinterest, I think I have a solution.

Storage was my biggest problem as with a toddler she is into everything, I would see her walk out of the room with anything she could grab off the desk and this was not safe and not good for me as new business as I spent hours trying to find things.

So...I had a storage makeover - ta dah!!!


1. The scissors were put way up high out of reach on this cute accessory holder - no drilling. I like! I got these washing up shelves / crockery holders from Ikea for under a tenner. This means that now all my buttons are also high! Mean Mummy!

2. All my rolls of hat fabric, heat proof fabric (for coasters) and inspiring wallpapers have a space by Gran's old sewing table.

3. Each of my craft supplies is in a clear plastic box so I can find them quickly and they won't get damaged.

4. Anything really special (paperwork!, books and lovely beads) are on a shelf above my printer. I had a good sort through and got rid of old paperbacks and books realistically I wouldn't use.

So now, I feel like I have a creative space. 

This is a start and I feel inspired by my surroundings...one button at a time..

I know I have more to do, but this is my first step to home working and being more organised in a little bit of chaos!

Any tips, do let me by posting a comment at the bottom.


Zen has returned to my work space...for the time being anyway!

Happy Crafting,


Tuesday, 23 April 2013

Preview of what is to come...

I want to a say a big thank-you to everyone who has taken the time to read and comment on my blog. It means a lot.

So here is a sneak peak of what I have got planned for the months ahead.


Themes

May
Weddings
Purse Making
Dressmaking / Vintage Patterns
Hat Making


June
Baby
Chocolate
Upholstery
Crochet
Garden Parties

July
Fruit
Children's Crafts
Smocking
Upcycling

August
Summer
Florist Crafts
Birthdays
Quilting

September
Harvest Time Crafts
Lace


October
Halloween
Soaps / Bath Bombes
Spring Garden Planning


November
Christmas Crafts
Knitting
Gift Wrapping


If you are interested in posting or have a product that needs a crafty review, drop me an email samanthaschofield@gmail.com. I am PR friendly!

Happy Crafting

Sam x

Friday, 19 April 2013

A DIY Lavender Air Freshener


A Chemical Free Eco Smell Of Loveliness -

perfect for babies room..


I have been reading the  blog mymakedoandmendyear and it got me thinking of what I could I could make for the family that is green and from everyday items you find in the cupboards.

I really think that our household footprint is getting too big and if we all do something green for the home the world would be a more eco-friendly place.

Having a creative mind and also loving the fresh smell of scents...I bring you my Lavender Scented Air Freshener. I really love to make soaps, bath fizzes and candles so this is just another creative craft to add to my making list.

I like it as it doesn't pump out those nasties that chemical versions do and all the ingredients you can find in your store cupboard.

As I am a asthmatic I wouldn't use the chemical versions as they trigger attacks. So this version is so mild it even goes in babies room! The scent lasts for a good month and even helps sleep. And we all like babies that sleep!

All you need is  -

jam jar
elastic band and ribbon to cover the band
4 teaspoons of baking powder
4 drops of lavender essential oil
Piece of fabric to cover the top of the jar

Mix the baking powder and essential oil drop by drop in the jar. It will fizz so be careful with the mixture. I mixed over the kitchen sink. Add the fabric cover and secure with the band and cover with a ribbon.


I give mine a shake every few weeks to wake up the smell.

Enjoy..Happy Scent Making..

Sam x

Blog Hop Button Earth Week Blog Hop: Show Us Your Stuff!
 

Wednesday, 17 April 2013

Washi Tape Cards


I was reading the blog claireabellemakes.com  when I came across this great idea to use all my old, saved and pre-loved papers (and I do have quiet a stash!) They are called Washi Tapes. They can be used on pretty much anything - cards, pegs or decorations... 

So with the inspiration of the Washi Tapes Post , I created my first 'interpretation post' with a stash of old papers, a cutting board, knife and some foam pads....

Getting started...


 I took the following -
 my paper
 foam pads (on a roll)
scissors
craft knife
craft cutting board

Let's create!

 My foam pad was sticky on one side and had a peel off side. I laid out the foam pads on the craft board and took my pretty paper to lay over the sticky pad. I then stuck my paper to my pad making sure it had no air bubbles or creases in the paper! With a very sharp craft knife I carefully cut out my washi tape and put a little 'V' at one end.

 I repeated this three times to have three washi tapes on foam pads for my card..

Thank-You Washi Tape Card

I love this card, with it's parcel look. The washi tapes make it look like it is already to  parcel off!
To recreate this look, cut out your three tapes and stick equally on your card in the bottom half of your card. Take a message topper and with foam tape centrally stick to your card. 

Looks such a professional finish!


Washi Tape Spares & Vellum

..and with the spares from the washi tape points, stick them all on a piece of vellum and recreate a washi tape on foam padding as above!


waste not and would you believe that these are all the left overs?


Thank-you to Claire for a fab post!

I'm off to make more...

Happy Washi Taping,

Sam x


Monday, 15 April 2013

Craft Candy Guest Blogger Vintage Fascinator Project


...check out this oh so easy DIY fascinator

I was thrilled to be asked by Craft Candy to be their guest blogger.

So with the Summer coming and thoughts of special occasions, I asked if I could do a fascinator project with an up-cycling theme.


They said yes and here is the result..


Craft Candy Guest Blog Post


Happy fascinator making..

Sam x
blogger template